Continuous Adversarial Exposure Validation
Getting started with Continuous Adversarial Exposure Validation on the Ethiack platform.
This onboarding flow is designed to get your organization into continuous testing as quickly as possible. It guides you through defining your attack surface and launching your first Continuous Adversarial Exposure Validation in four steps.
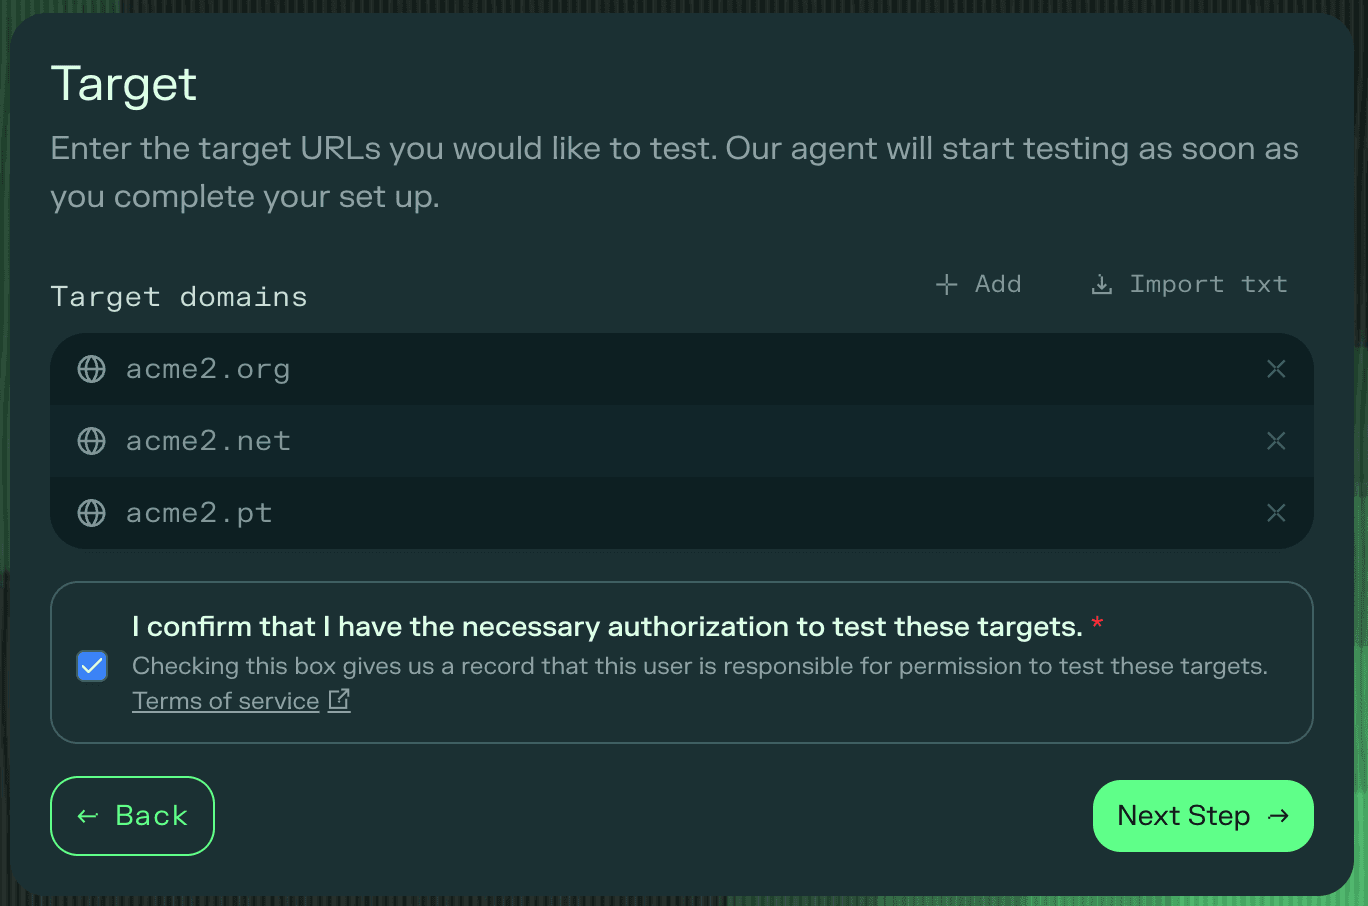
Step 1: Define your domains
Enter the domain(s) you want to continuously test. You can add them manually one by one, or import a file with one domain per line.
Once you have added your domains, check the confirmation checkbox to confirm you have authorization to test them. This is required before proceeding to the next step.
Step 2: Recon
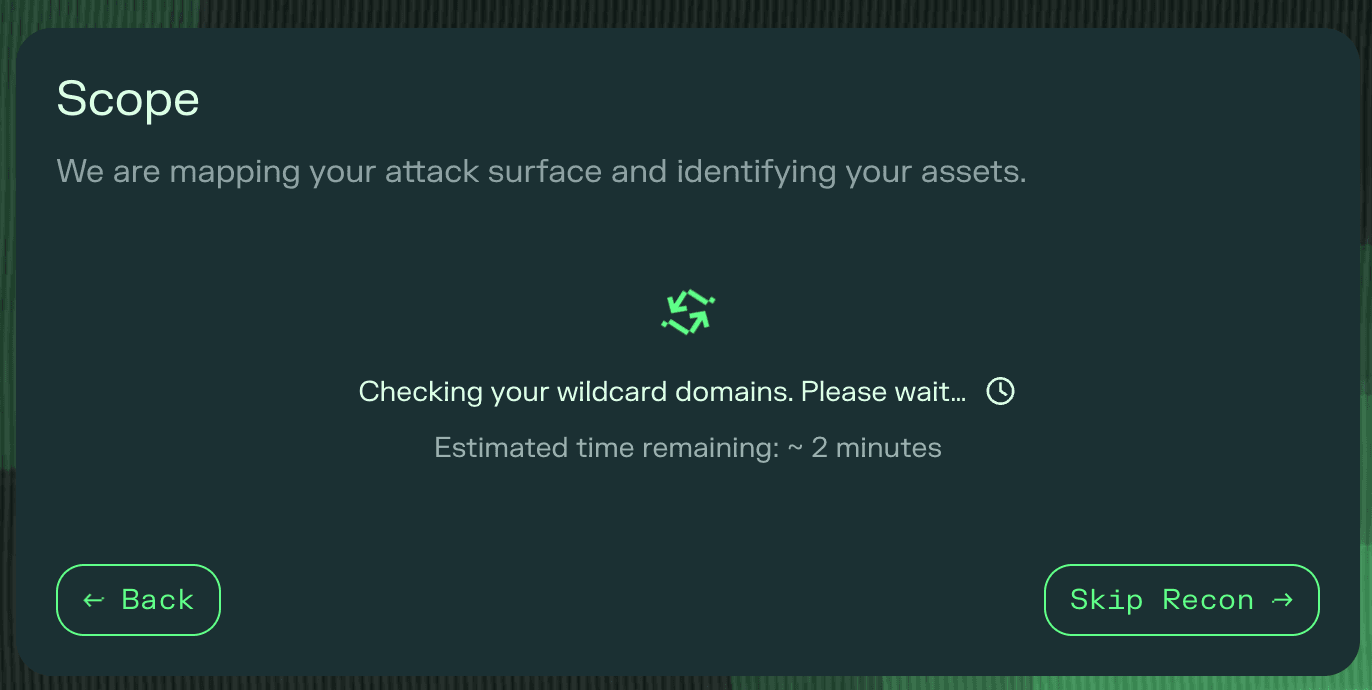
Ethiack will immediately begin a reconnaissance process, mapping all assets found under the domain(s) you provided: subdomains, IPs, and services.
If you provided many domains or your domains have a large number of assets, recon may take some time. You can skip this step entirely and proceed to asset selection immediately if you prefer not to wait.
Step 3: Select assets in scope
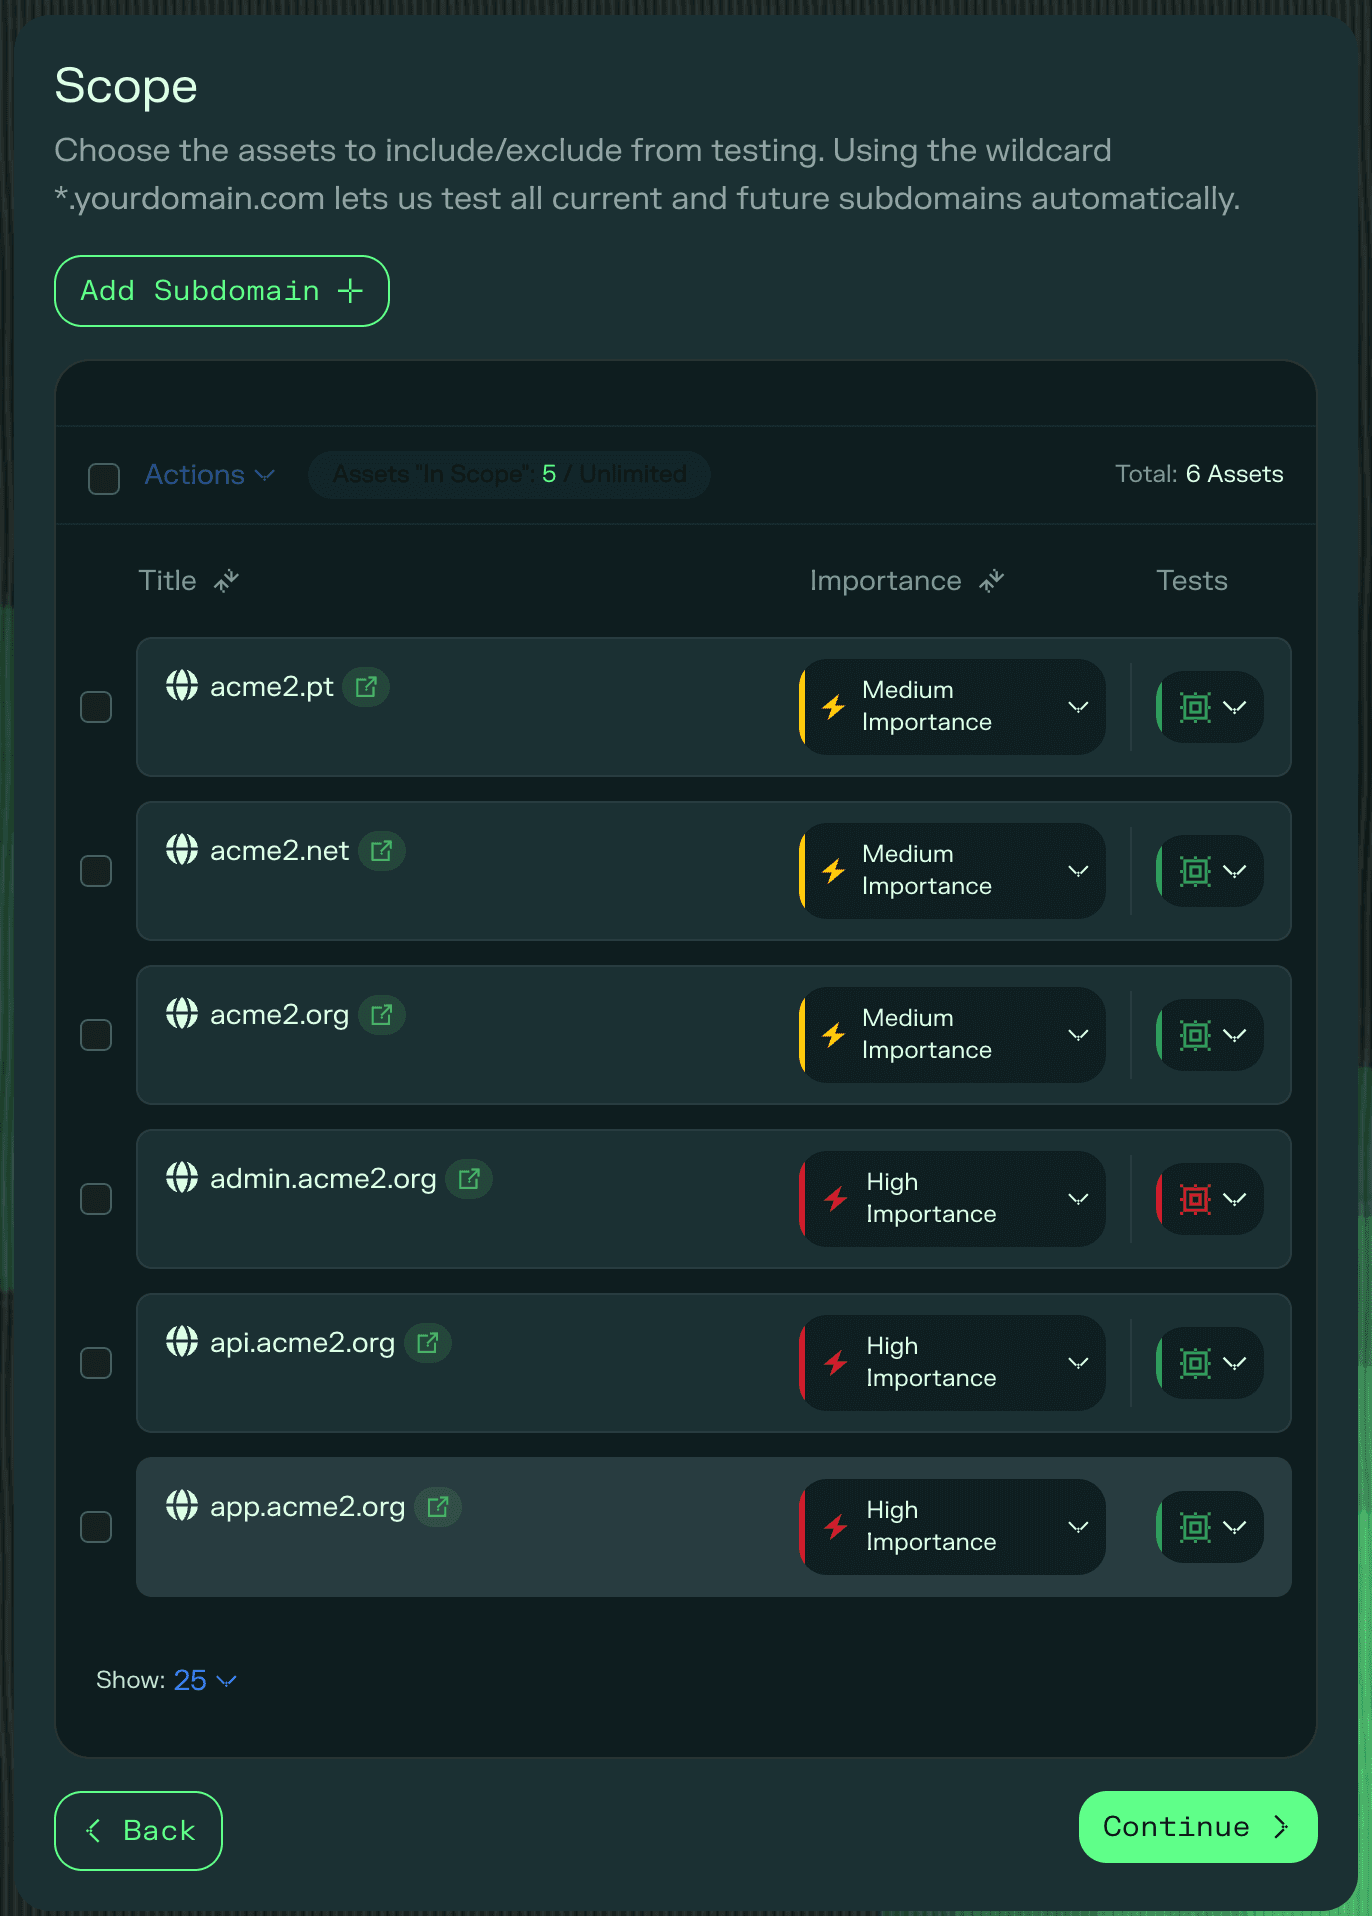
Choose which assets you want included in your continuous test.
- If you waited for recon to complete, your full list of discovered assets will be available to select from.
- If you skipped recon, you can manually add the subdomains you already know you want in scope. Ethiack will continue mapping the rest of your attack surface in the background.
Step 4: Review and confirm
Review the full setup of your Continuous Exposure Validation before launching. On this page you can:
- Confirm which assets are in scope.
- Exclude specific subdomains you do not want included in the continuous test.
- Access a list of IP addresses and User-Agents used by the Ethiack Engine, so you can whitelist them in your WAFs, SIEMs, and EDRs as needed.
Once confirmed, your Continuous Adversarial Exposure Validation will be active and Ethiack will begin testing your attack surface continuously.